
One thing which make my Tyranid army so fun is the Shrikes. They can move as fast as anything else in the codex but hit like a ton of bricks when they get there. Boneswords, Lash Whips, Scything Talons, these all can wreak anyones day in close combat. However, they might as well be built of paper as if anything so much as sneezes their way they're toast. But if you use them right, which is very challenging, they are almost unstoppable. Until they meet a powerfist.
This tutorial will show you how to build Shrikes in a hopefully not too difficult fashion which doesn't require any brilliant talents in sculpting.
End Product:
 This is the end product I managed to make. They all have dynamic poses which I like but are really awkward to transport. They all have 6 limbs (like all Tyranids) which some people don't do, they just add wings to make 8 limbs, but I thought that would look crowded and weird so just count the wings as Scything Talons. I used the rocks to weigh down the bases and also add dynamics to each Shrike as the lower torsos are all identical. I didn't want them all looking the same. Keep in mind that this is what we are aiming for.
 |
| These are all the pieces from the sets I used. |
What you Need:
Here are the things I used to make the Shrikes;
- A Tyranid Warrior Box Set
- A Gargoyle Bow Set
- Glue
- Green Stuff
- Garden Rocks
- Clippers
I only used a few pieces from the Gargoyle box so there were plenty more pieces left to make more Shrikes or other things.
All of the pieces are above but here is a list of them;
- 3 pairs of Gargoyle wings
- 3 Gargoyle tails (Lash Whips)
- 3 pairs of Warrior Scything Talons (Boneswords and Arms)
- 3 pairs of Warrior Legs
- 3 Warrior Chest sets (Front and Back)
- 3 Warrior Tails
- 3 Warrior Heads (Carapace and Face)
You can swap the weapons if you want and use say Devourers instead of Bonesword/Lash Whips but I only made Bonesword/Lash Whips so that's what I will show.
Basic Building Blocks:
- The first stage is pretty simple, assemble the Warrior Torso/Legs, Head and Chest. This is covered in the Warrior booklet (I think) and is pretty simple.
- Next you cut the Gargoyle wings to shape. This is shown in the picture.
- Next is to make the Lash Whips. This is done by cutting the Gargoyle tail just below the ribcage as shown in the picture. You then cut the Scything Talon off of one arm and use Green Stuff to connect the two pieces as in the second picture. Experiment for different poses.- Next you cut the Gargoyle wings to shape. This is shown in the picture.
 |
| Trim it until it fits your pose. |
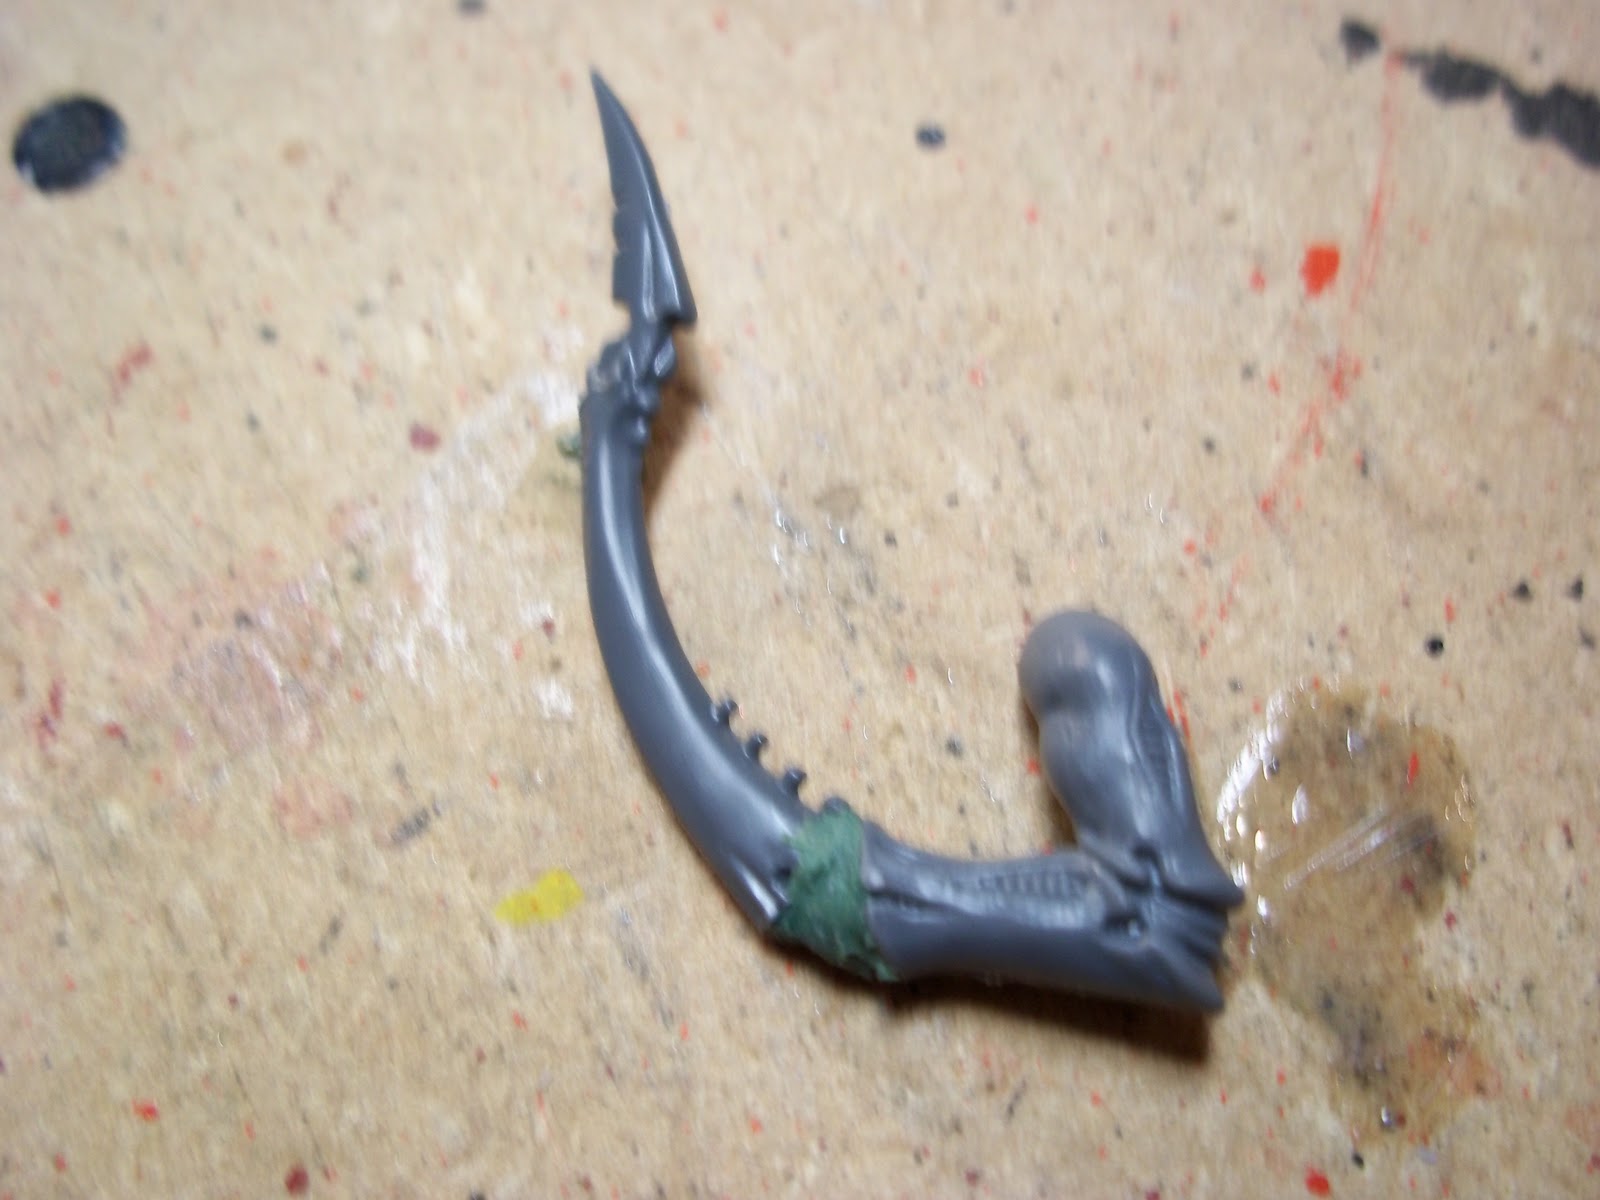

- Next step is to make the Boneswords. This is simply done for me by slicing the scything talons off, turning them 180 degrees then green stuffing them back on. You can use your own Boneswords made of plasticard if you want or even order sculpted ones off of the internet but this is how to just use the box pieces.


Now you need to start assembling the larger pieces together.
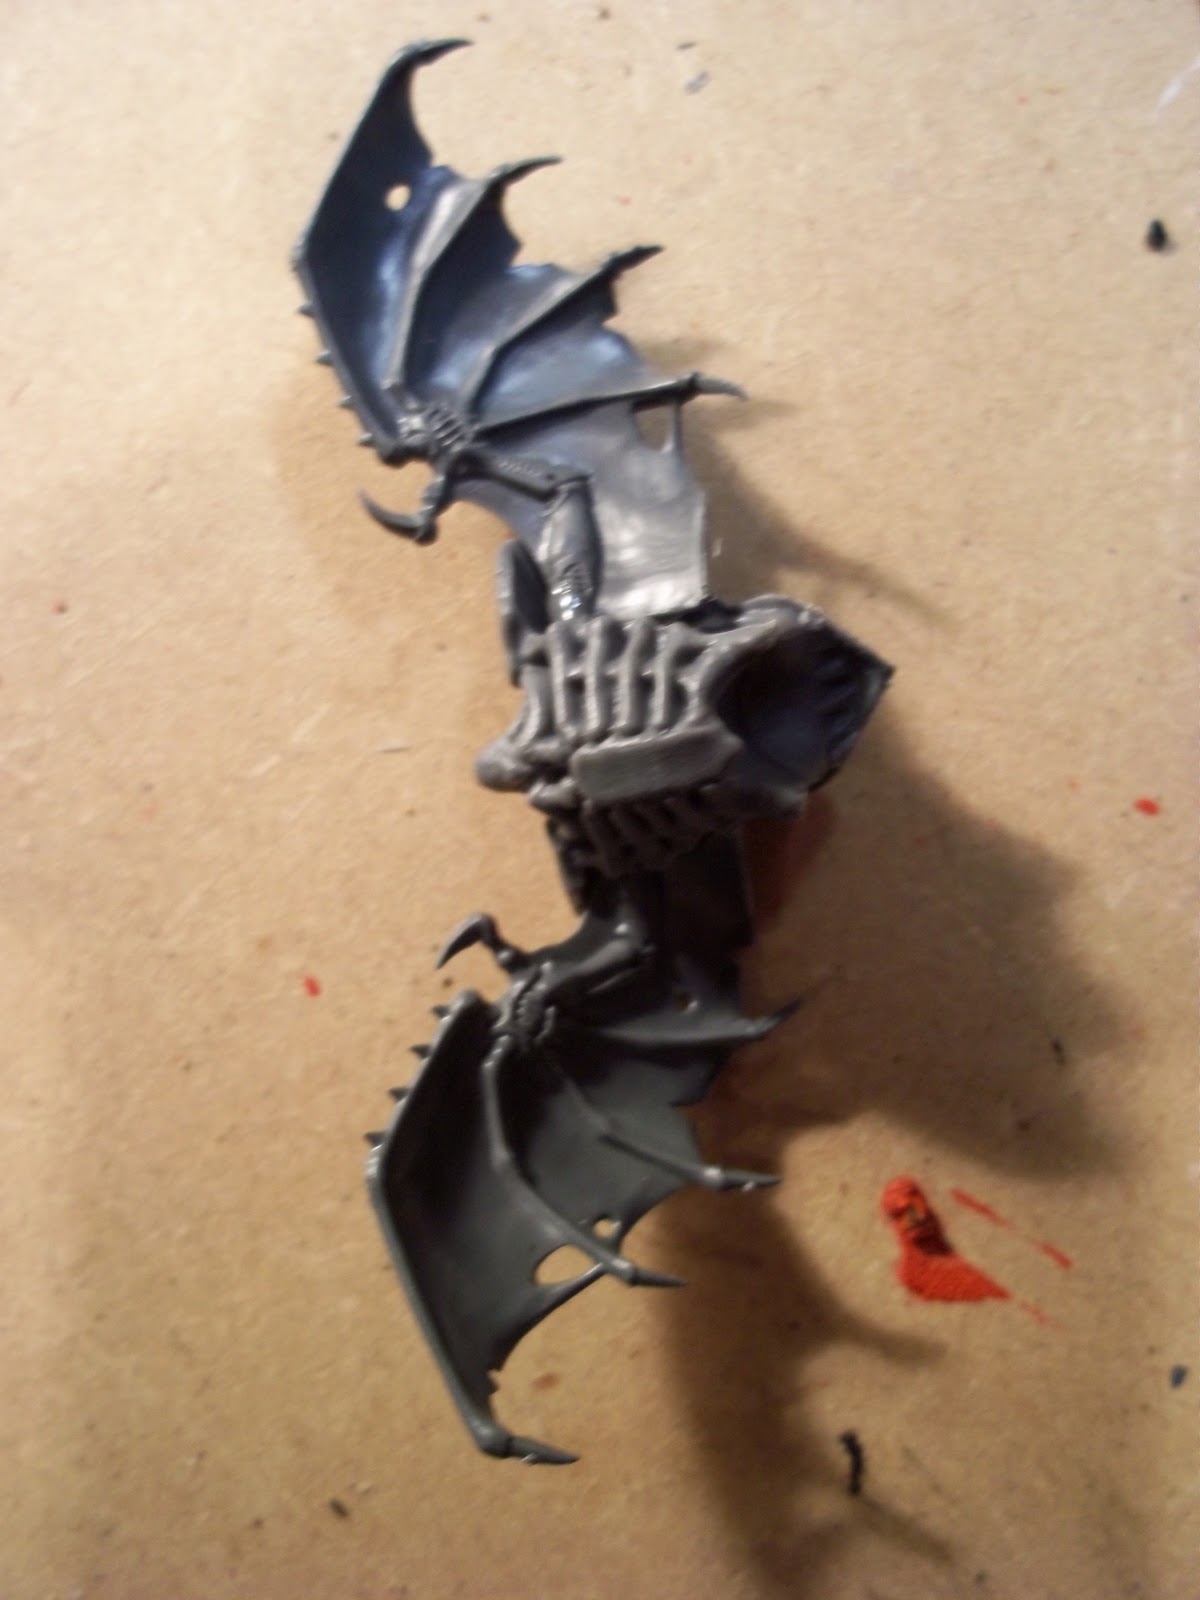
- First simply glue the wings in the arm sockets of the Chest piece like in this picture. Pose them so it looks like they are landing or slashing or something cool.
- Next you should attach the legs and tail to the base. This can be done by just gluing but it is advisable to pin it. Although I didn't it will give the model a better hold. Also it is a good idea to add rocks and other debris, not to just add realism and look good but also to add weight to the bottom of the base.


- Once that is all fully dried you should attach the two pieces at the waist by glue. Remember those dynamic poses!

- Next job is to glue the arms onto the model. Use the lower tow sockets below the wings for this. I found this took forever to dry so you need to hold the arms in place to get them to set properly. Depends what glue you use.
 |
| There is no shame in cheating! Prop them up if you get bored. |
- Finally you attach the head. Make it as menacing as possible!

DONE!
Questions?
Great idea, and fantastic tutorial. Sure, using gargoyle wings for shrikes is nothing new, but the thought of using gargoyle tails as lashwhips is brilliant.
ReplyDeleteMind if I link to this post?
Yeah that's fine.
ReplyDeleteThanks for the compliments.
Very awesome! I was wondering how to get the whips right on them and it never occured to me to use the gargoyle tails, especially since those gargolyes are useless after they lose the wings to the shrikes!
ReplyDeleteNice work. A very creative use of bitz.
ReplyDeleteWhile I don't know that much about bugs, it seems like you've got a fairly simple and straightforward conversion here and that's a win in my book.
ReplyDeleteNice job.
Ron, From the Warp
Nice conversion. Lash whips idea is cool and it makes use of what could otherwise be a wasted body.
ReplyDelete